How to Set Up a Raspberry Pi?
A quick guide to set up a headless Raspberry Pi with an operating system and Wi-Fi connection.
What You’ll Need

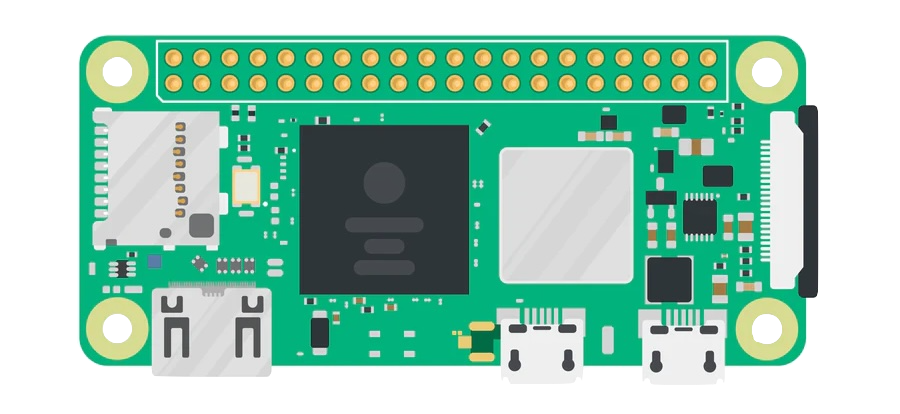
- A Raspberry Pi (any version)
- MicroSD card (between 16 Gb and 2 Tb, Class 10 recommended)
- Power supply (compatible with your Raspberry Pi model)
- Internet connection (Wi-Fi)
Note: We are going to use the Raspberry Pi via ssh (headless), so we don't need a screen or a keyboard and mouse.
Step 1: Install the Operating System
- Download Raspberry Pi Imager: Visit the official Raspberry Pi website and download the Raspberry Pi Imager.
- Flash the OS:
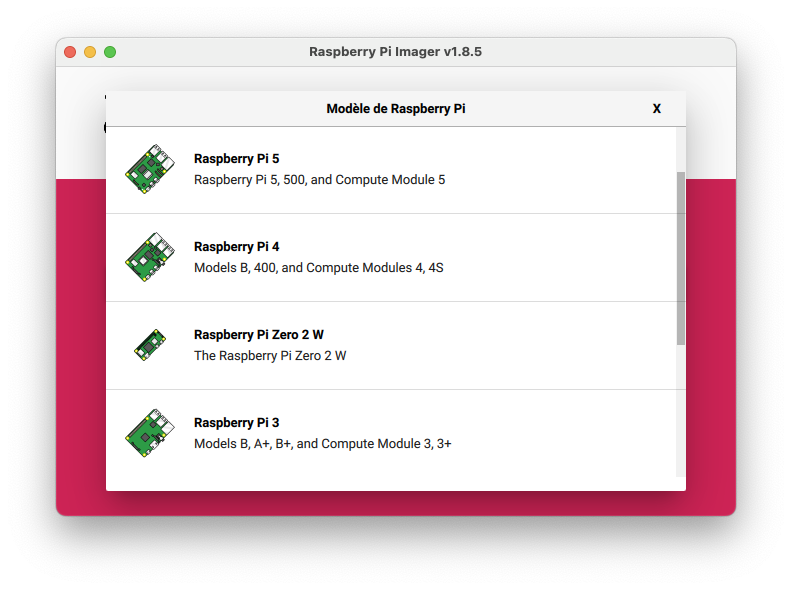
- Open Raspberry Pi Imager, select your Raspberry Pi model from the list,

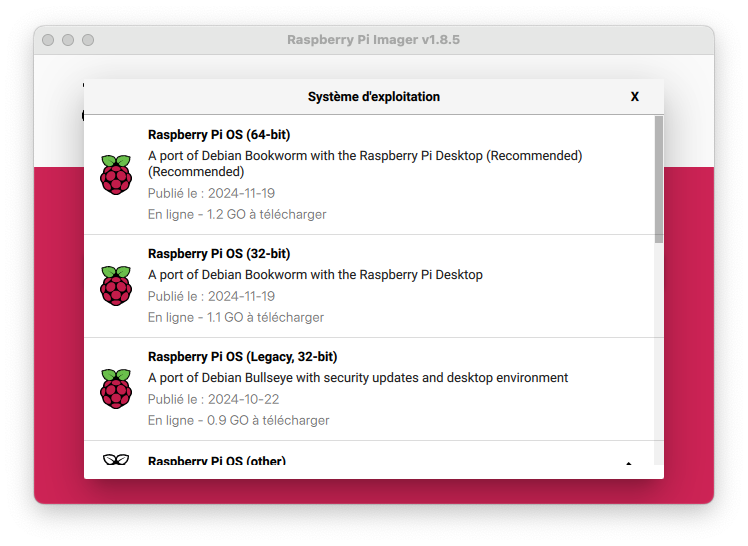
- Choose an operating system to install,

- Select your MicroSD card where you want to install it.
- Set OS customisation: Set your custom settings (username and password, Wi-Fi credentials, device hostname, etc.) and check the box to Enable SSH. Then hit Write.
Step 2: Connect & Use
- Insert the SD Card: Insert the MicroSD card into your Raspberry Pi.
- Power Up: Connect the power supply to your Raspberry Pi. It should boot automatically.
- Connect: You can access your Raspberry Pi using ssh with the credentials you choose previously.
Links
- Raspberry Pi - List of operating system images
- Raspberry Pi - OS customisation
- Remotely accessing your Raspberry Pi
- Updating and upgrading Raspberry Pi OS
Published on
Updated on
by Loris F.


